Art chat

Once I have a design I like I transfer it to the wood, which I've lightly sanded, using graphite paper. The pyrography part is done with an Antex Firewriter, and I also have a cheaper pyrography unit I got from Amazon which I keep a shading nib in. Different nibs in the pens give different effects. I took to pyrography quickly because it's similar to using a pen and ink.
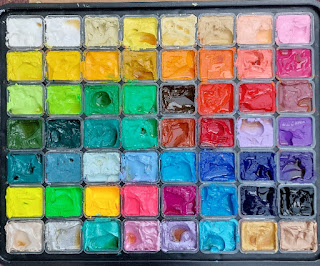
Once I've burned the design, detailed and shaded, I use acrylic inks to colour it. I like these because you can get washes of colour, similar to watercolours, but without anything moving if you glaze over. All my paintings, including my larger acrylic work, I use lots of transparent layers to build depth.
For some pieces the inks are enough, or I combine them with watercolour pencils over the top.
Finishing depends on the type of wood and whether I've used colour pencils. The more absorbent woods, and pieces with watercolour pencils, I finish with a couple of coats of Danish Oil. I use one with no harmful additives, so it's effectively just high quality linseed oil. For other pieces that are just coloured with a acrylic I use several layers of Liquitex satin artists varnish, just giving a gentle buff with a sanding pad between layers.